We Asked a Glass Professional for Tips on Shower Design. Here’s What He Said.
30th Dec 2025
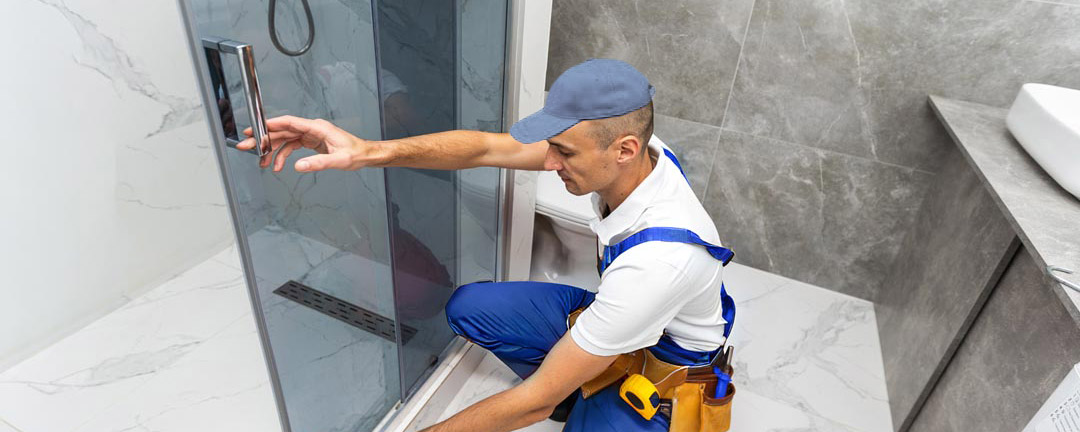
One thing that makes Glass Simple different from some other shower hardware suppliers is our willingness to work with DIYers. Glass Simple does not impose annual order minimums or require you to create an account in order to buy our products. With these DIY customers in mind, we asked Tom, a local glass professional with over a decade of industry experience, for some shower design tips.
Design Compatibility Is Key
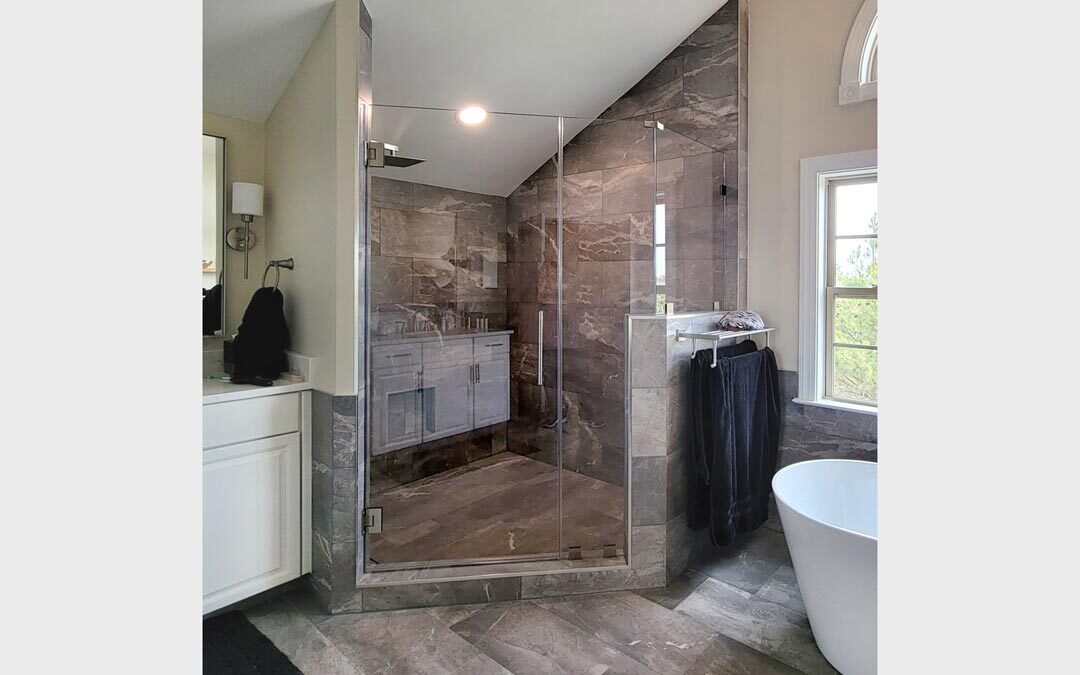
You can definitely put your creativity to work in designing a glass shower, but you don’t want things to get too crazy on a DIY install. Bring your creative vision to bear as you select your glass style and the finish and style of the hardware, but be sure that you are working within the confines of what’s doable. Most glass shower enclosure hinges and clamps are for 90 degree angles like this or 135 degree angles like this. Therefore, however you configure your enclosure, Tom notes that these should be the angles at which glass connects to other glass or to bathroom walls. Many shower enclosures have 4 right angles and a square or rectangular footprint. However, neo-angle corner showers frequently have two fixed panels extending out from the bathroom corner walls at 90 degrees. A door panel is hinged to one of them at 135 degrees to complete the enclosure. (Note that 180 degree clamps and hinges are also available for connecting pieces of glass in line with one another.)
Curb Slope Must Be Correct

Another point that Tom emphasized relates to the shower curb. The curb is the raised threshold that separates the shower entrance from the bathroom floor in many enclosures. It helps keep water in the shower and can be an important part of the shower area’s overall design. However, what you may not know is that the slope (or lack thereof) of the shower curb plays a pivotal role in ending up with a glass shower that does not leak.
Water will inevitably land on the portion of the curb behind the door. The curb should, therefore, angle slightly toward the shower floor at a slope of 1/8” to 3/16” over 6.” This will cause the water to run down the curb, onto the shower floor, and down the floor drain. If the curb is flat or slanted in the opposite direction, the shower will most likely leak as water flows out onto the bathroom floor instead of back into the shower.
Don’t Let the Door Drag

Not every shower area includes a curb, though. At times a curbless design is preferred for enhanced accessibility or to promote visual continuity between the shower and the rest of the bathroom. If you are going with a curbless enclosure, Tom recommends that you install a stone or engineered quartz threshold that is just slightly – 1/4" – 1/8” – higher than the floor. Its edges should be beveled so that it does not pose a trip hazard, but this minimally raised area will ensure that the door panel does not drag on the floor when swung open.
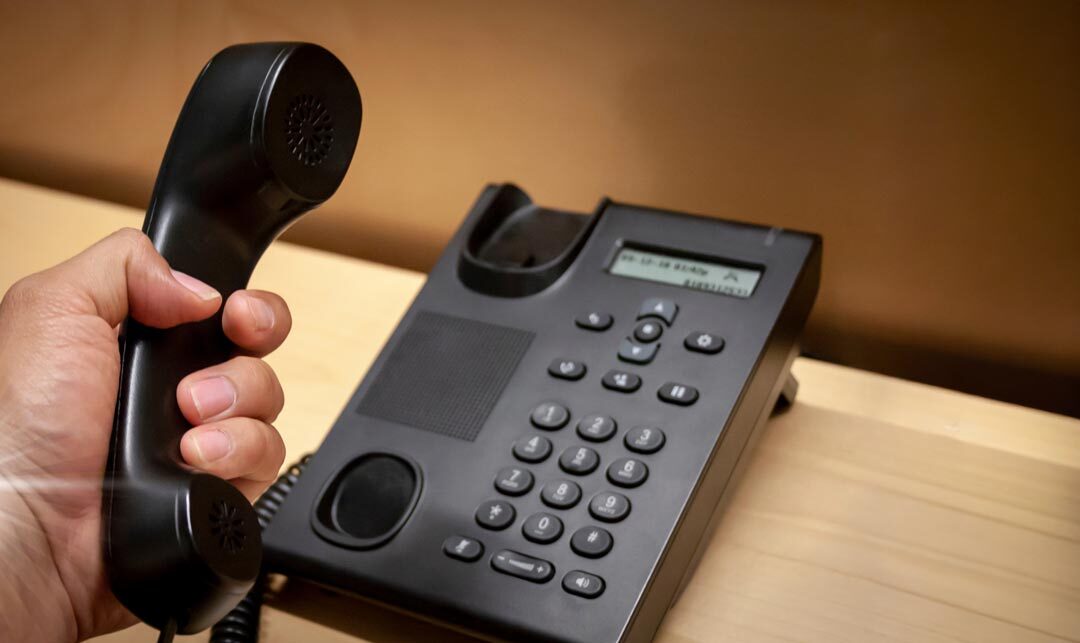
Do you have glass shower hardware questions as you begin your project? Call our Virginia-based Glass Simple team, and get professional answers and insights – (571)707-7760.