


Guide to Drilling Through Tile
18th Nov 2026
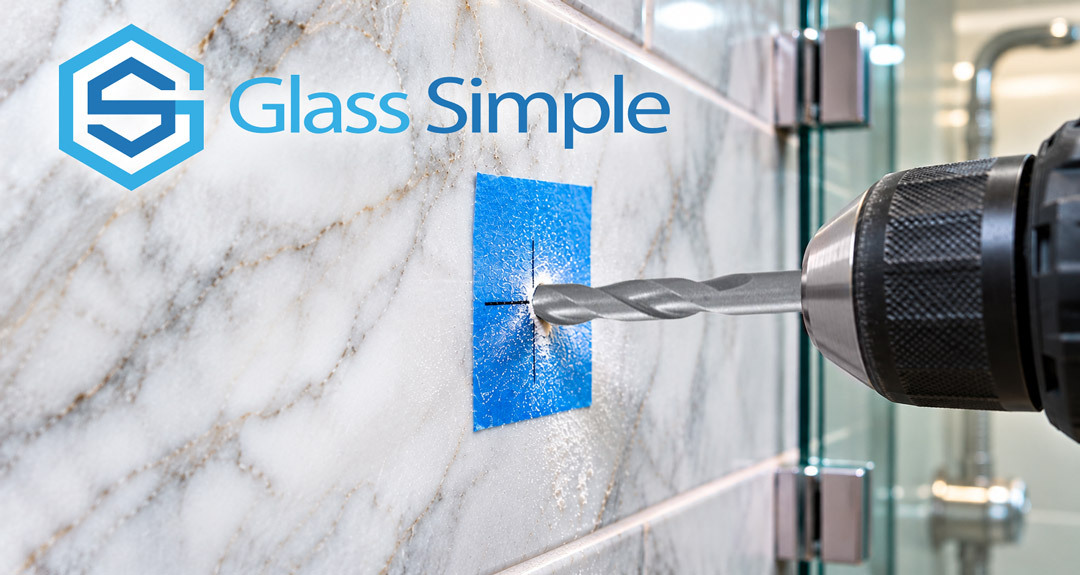
Drilling through high-end tile, especially dense porcelain, marble, or glass tile, is one of the most nerve-wracking steps in installing custom frameless glass showers.
A cracked tile can set a job back by days, lower your profit margin, and damage your reputation with the general contractor or homeowner.
Here is a breakdown of why tiles crack and how your installers can guarantee a clean, professional hole every time using Hybrid Point-Hex Shank-Serrated Drill Bits.
The Science: Why High-End Tile Cracks
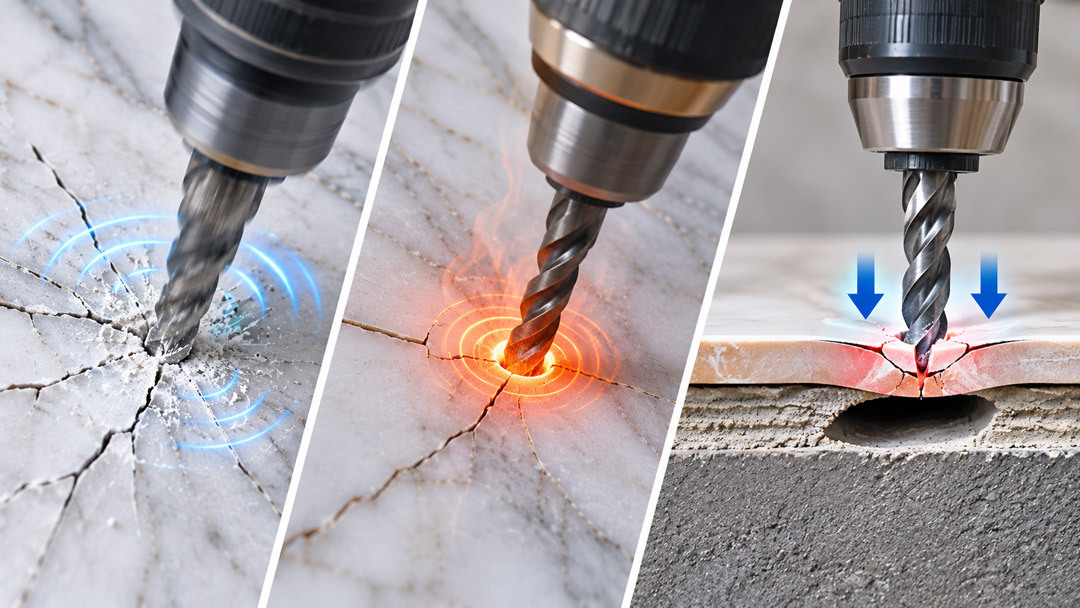
When a glazier drills into tile, three physics-based mechanics cause fractures:
- Impact Trauma (Percussion): High-end tiles are brittle. Traditional masonry bits operate like a mini jackhammer. On porcelain or natural stone, these shock waves trigger immediate spiderweb cracks.
- Thermal Shock (Friction Heat): Friction between a high-RPM drill bit and tile generates intense localized heat. Because tile is a bad thermal conductor, the spot under the bit expands rapidly while the surrounding cool tile remains normal, snapping the tile from thermal stress.
- Substrate Hollows: If the tile installer left air pockets in the thin-set mortar behind the tile, the tile loses its backing. Pushing down hard with a drill flexes the tile into that air pocket, snapping it from shear force.
The Ultimate Tile-Drilling Arsenal
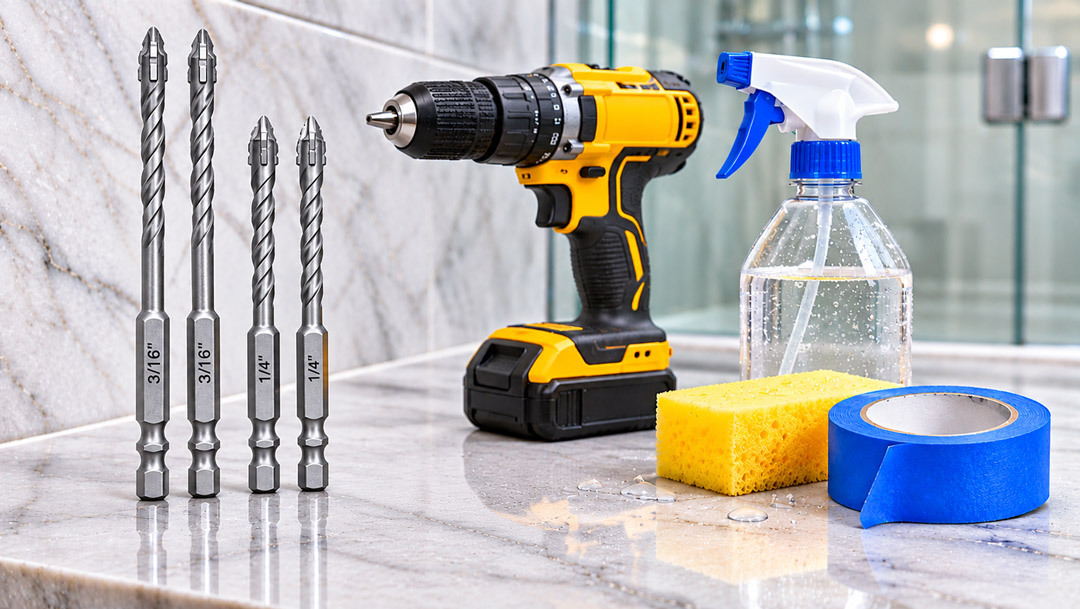
To drill high-end materials, standard carbide masonry bits are completely off the table.
- Hybrid Point-Hex Shank-Serrated Drill Bits: These specialized bits feature a self-centering hybrid spear point to eliminate bit walking, a hex shank for high-torque quick-change chucks, and serrated cutting edges that carve into hard glaze without severe impact trauma.
- Variable-Speed Cordless Drill: Set to Rotary Mode ONLY. Never engage Hammer Drill mode.
- Water Cooling Delivery System: A simple spray bottle, a wet sponge squeezed over the bit, or a water-retaining suction ring.
- Painter's Tape: Provides extra grip on slick glazes and marks hole placement cleanly.
Step-by-Step Field Process for Glaziers
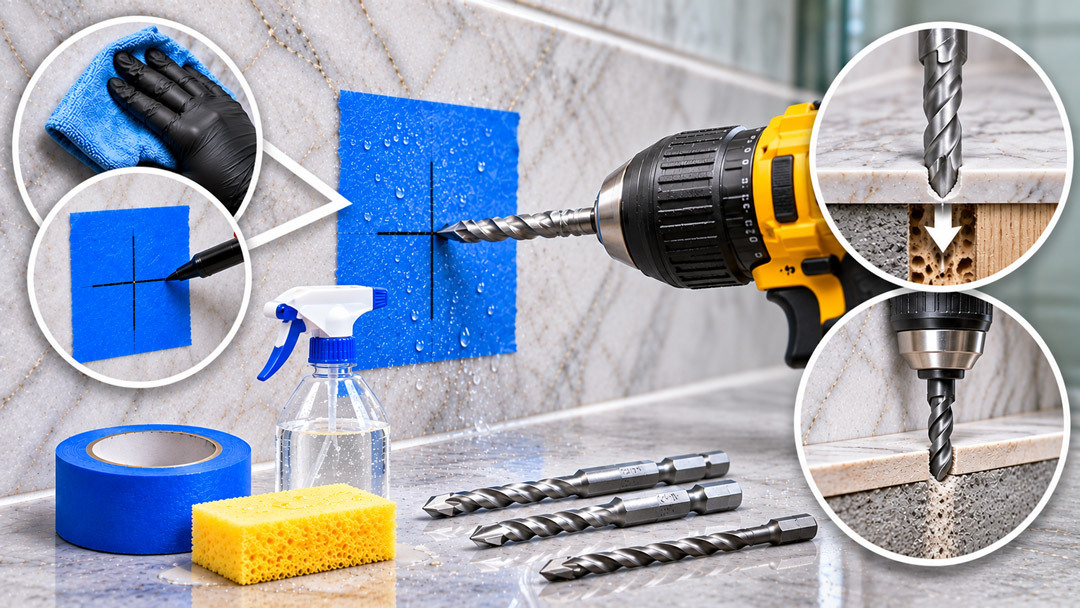
Step 1: Prep the Surface
- Clean the tile face and apply a crisscross square of blue painter's tape directly over your mark. Mark your hole center on top of the tape. The tape gives the bit immediate traction.
- Pro Tip: Use a rubber suction-cup drill guide or create a dam out of plumber's putty filled with water to keep the bit localized and continuously cooled.
Step 2: The Self-Centering Hybrid Point Start
Unlike core bits that require starting at a 45-degree angle, the hybrid point design allows you to start directly perpendicular to the tile.
- Place the sharp hybrid point directly on your mark at a 90-degree angle.
- Start your drill at low RPM (300–500 RPM).
- Let the sharp center point bite into the tile face to lock its position before the serrated edges begin cutting the outer diameter.
Step 3: Low RPM, Continuous Water, Light Pressure
- Let the Serrated Edges Cut: Do not push hard. Heavy pressure heats up the bit, dulls the serrated teeth, and crushes hollow tiles.
- Cooling is Non-Negotiable: Spray water on the cutting zone every 5 to 10 seconds. Flushing out tile slurry and keeping the serrated bit cool prevents thermal expansion and preserves the cutting edge.
Step 4: Switch Bits for the Substrate
Once you feel the bit break through the back edge of the tile (you will feel a sudden drop in resistance), STOP.
- Do not keep driving your serrated tile bit into wood studs, concrete, or cement board—it will dull the specialized cutting teeth quickly.
- Pull the hybrid bit out, swap to a standard wood bit or concrete masonry bit, and finish drilling the hole for your wall anchor.
The Golden Rule: Avoid Grout Lines
Always attempt to locate hinges and wall clamps at least 1/2 inch away from tile edges and grout joints. Tile edges are unsupported and prone to chipping. Furthermore, expansion anchors driven directly into a grout joint can blow the corners off all four surrounding tiles simultaneously.
Let's Answer Some Frequently Asked Questions!
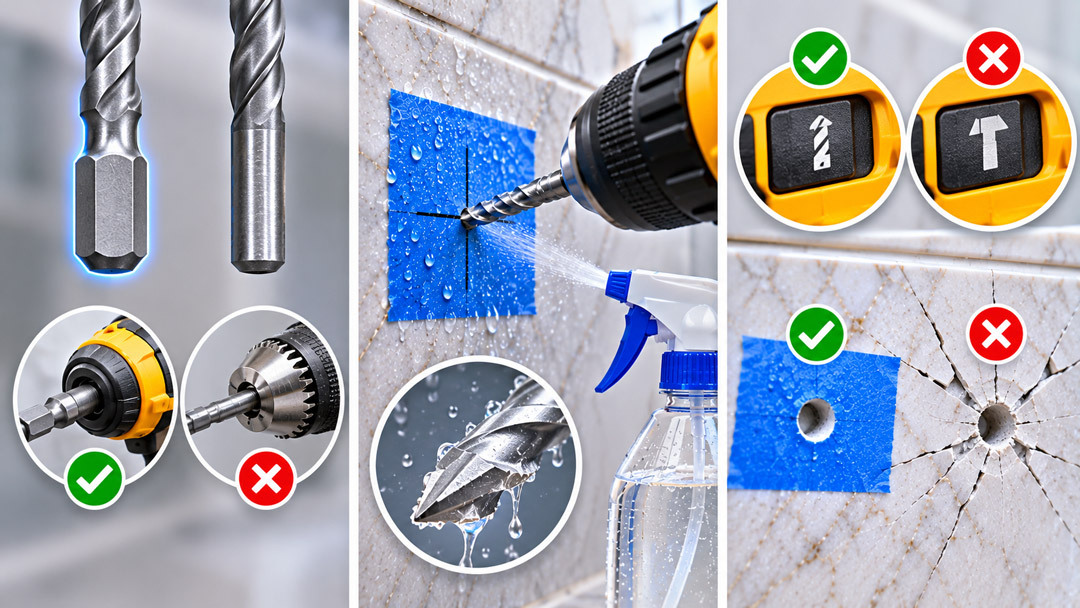
Q: Why should I use a hex shank bit instead of a smooth round shank?
A: A hex shank locks firmly into 1/4" quick-change impact drivers and drill chucks, eliminating bit slipping or spinning inside the chuck under heavy torque. This provides maximum power transfer and allows fast bit swaps between drilling the tile and setting the wall anchor.
Q: Do I still need water cooling with serrated hybrid bits?
A: Yes. While serrated edges channel away tile dust better than standard bits, friction still creates intense heat instantly. Using water cools the bit, prevents thermal stress cracking in the tile, and dramatically extends the cutting life of the specialized teeth.
Q: Can I use hammer drill mode with a hybrid point bit to speed up drilling in hard porcelain?
A: Never use hammer mode on tile. The rapid pounding action will immediately shatter brittle high-end tiles or blow out the back face of porcelain. Always keep your drill in standard rotary mode at low RPMs and let the serrated edges shave through the surface smoothly.
Pro Tips for Your Glass Shower Project
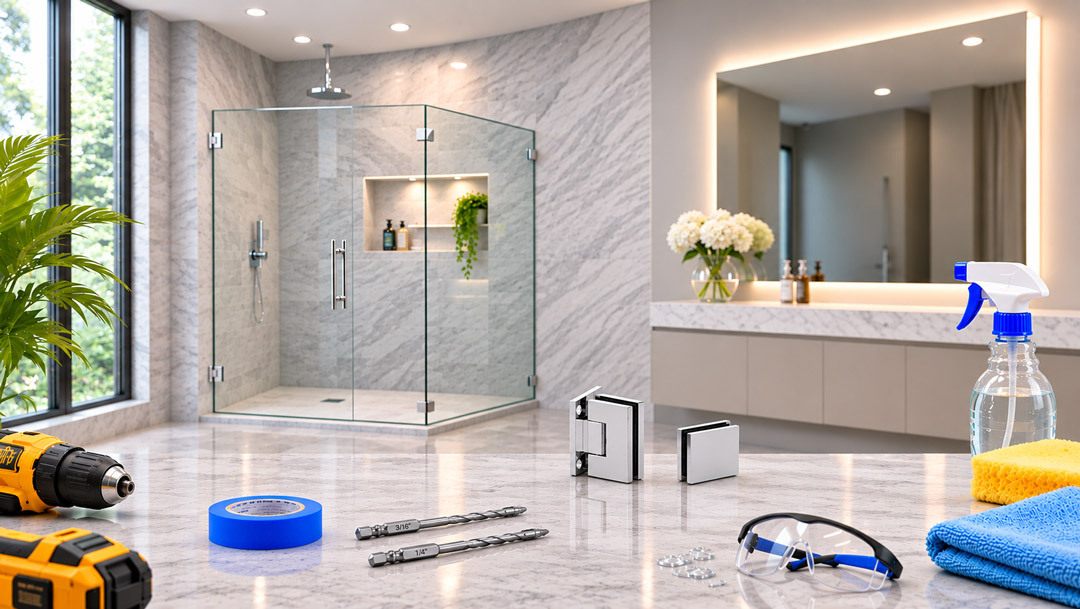
Do you have questions about the hardware required for your upcoming glass shower installation? Call Glass Simple at (571)707-7760 to speak with our knowledgeable team and get the answers you need!